Planning a new or renovated dental sterilization area often starts with a list of furniture: a sink, some counters, a few cabinets. You have the room dimensions and a list of equipment to fit. But arranging these pieces without first mapping the "dirty-to-clean" workflow can accidentally create a layout that works against your infection control goals.
You might find a layout that fits all the equipment, but if staff have to backtrack or cross from a "clean" packing area into a "dirty" receiving zone, you create daily inefficiencies and contamination risks. The challenge isn't just fitting furniture into a room; it's designing a system that makes the correct process easy to follow.
The better first question isn't "What furniture should I buy?" but "How should I lay out the one-way workflow in my room?" This shift in focus is key to creating a space that is efficient, helps support compliance goals, and contributes to a safer environment for both your staff and patients.
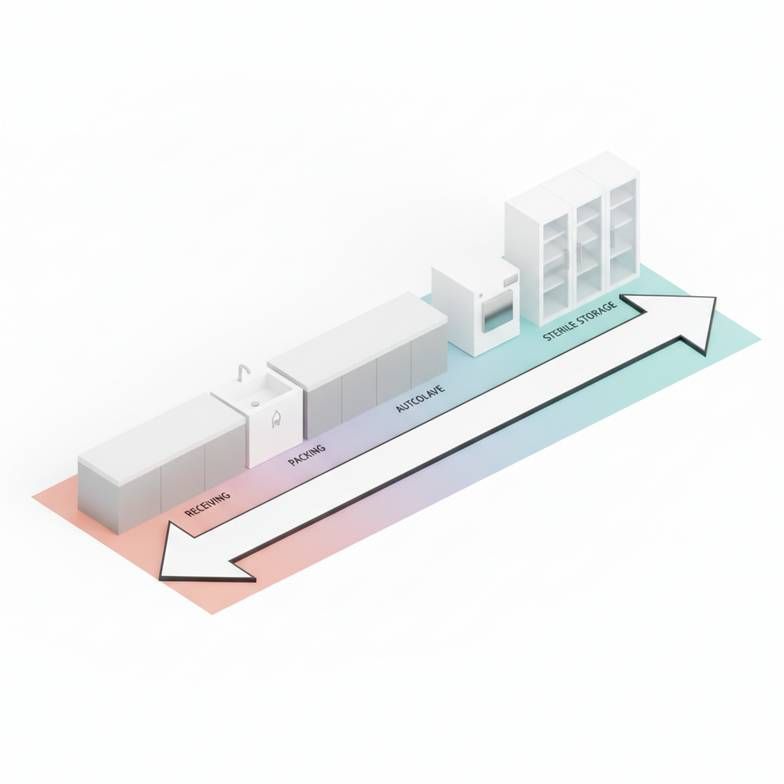
Planning a dental clinic sterilization area depends on first mapping the "dirty-to-clean" workflow to your room's layout. This workflow dictates the sequence of furniture: a receiving station for contaminated instruments, a cleaning station with sinks, a counter for inspection and packing, and enclosed cabinets for sterile storage. The right furniture is specified by its function within this flow, requiring features like integrated backsplashes for cleanability and seamless surfaces to reduce contamination risk.
Why Your Layout Plan Must Come Before Your Furniture List
An important line on your sterilization room floor plan isn't a wall or a counter-it's the invisible path an instrument takes from contaminated to sterile. The main purpose of the layout is to make this path a one-way street, with no U-turns or crossovers.
A layout that ignores this flow can lead to inefficiencies and create issues that may be flagged during inspections. When a staff member has to carry dirty instruments past the sterile packing area, the risk of cross-contamination increases.
Before you choose a single cabinet, take a simple first step:
- Draw the Path: On a simple sketch of your room, draw a single, continuous arrow line tracing the path of an instrument set. The line should start where contaminated items enter the room and move sequentially through receiving, cleaning, packing, sterilization, and finally to sterile storage.
- Check for Backtracking: Does the arrow ever have to double back on itself? Does the path for dirty instruments cross the path for clean instruments? If so, your layout has a potential workflow flaw.
This simple visual test helps you spot problems before a single piece of furniture is ordered. The goal is to arrange the furniture to guide this linear flow naturally.
While these are common best practices for infection control, you should always confirm the specific design and material requirements with your local health authority or dental board before finalizing any plans.
What Furniture Do I Need for Each Workflow Zone?
Thinking of furniture by its job in the workflow, rather than as generic "tables" and "sinks," helps you choose the right specifications. Each zone has a distinct function, and the furniture should be designed to support it.
1. Receiving (Dirty Zone): This is where contaminated instruments arrive. The counter here needs to be robust and, importantly, designed to contain any drips or liquids. It's not just a holding area; it's the first line of defense in containing contaminants.
2. Cleaning (Dirty Zone): This station is for manual and ultrasonic cleaning. It's the "wettest" area and requires a multi-basin sink (for washing and rinsing) and surfaces that can withstand constant moisture and cleaning agents.
3. Packing & Preparation (Clean Zone): After cleaning and drying, instruments are inspected and packed into sterilization pouches. The work surface here must be smooth, seamless, and well-lit. It needs space for supplies like pouches and a heat sealer.
4. Sterilization (Clean Zone): This area houses the autoclave. The furniture must safely support the weight and heat of the equipment and allow for proper ventilation and access for maintenance.
5. Sterile Storage (Clean Zone): This is the final stop. Sterilized packs must be stored in a way that protects them from dust, moisture, and re-contamination until they are needed. For this reason, enclosed cabinets are strongly recommended over open shelving.
Checklist: Key Specifications for Sterilization Area Furniture
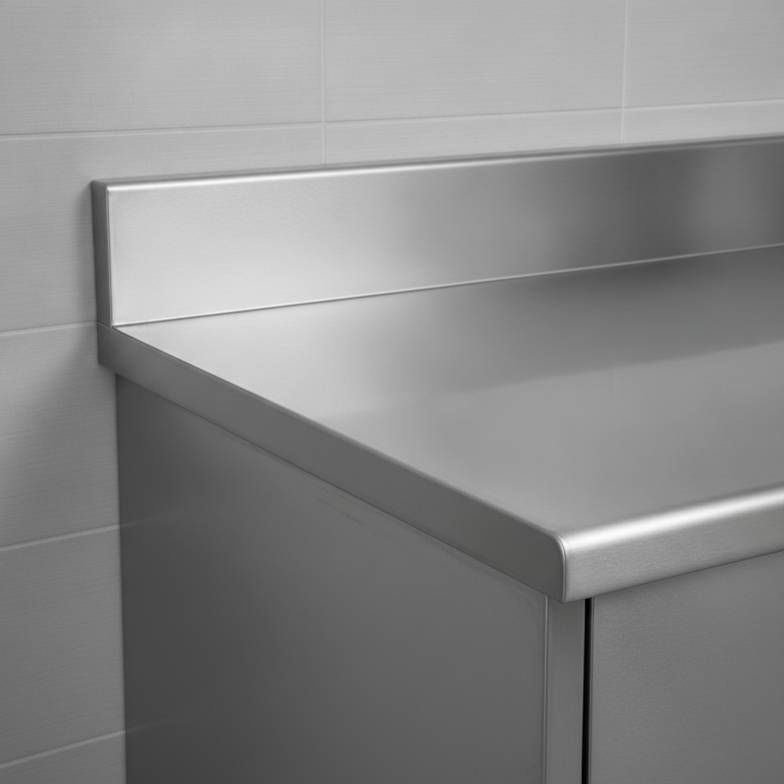
Assuming "stainless steel" is the only specification that matters is a common misjudgment. Commercial-grade furniture, like that used in restaurants, often has seams, crevices, and rolled edges that may not be ideal for healthcare cleaning protocols. These design features can make thorough cleaning more difficult and create areas where contaminants could accumulate.
The design details are not cosmetic; they are active features for infection control. For example, an integrated backsplash creates a seamless transition between the counter and the wall, eliminating a hard-to-clean gap where moisture and debris can accumulate.
Use this checklist to understand the key features for each zone.
Sterilization Zone Furniture & Specification Checklist
| Workflow Zone | Required Furniture | Key Specification Checks to Confirm |
|---|---|---|
| 1. Receiving (Dirty) | Receiving Counter / Sink | Does the counter have a raised "marine" edge to contain spills? Is there a dedicated bin for sharps disposal? |
| 2. Cleaning | Multi-basin Sink Unit | Are there at least two basins (for washing and rinsing)? Is there space for an ultrasonic cleaner? Is the counter equipped with a high backsplash to protect the wall? |
| 3. Packing & Prep (Clean) | Inspection & Packing Counter | Is the surface smooth and seamless? Is there adequate space for sterilization pouches and a heat sealer? |
| 4. Sterilization | Autoclave Stand / Counter | Does the furniture support the weight and heat of the autoclave? Is there proper ventilation clearance around the unit? |
| 5. Sterile Storage | Enclosed Storage Cabinets | Do the cabinets have solid, sealed doors (not glass)? Are the shelves adjustable? Are the tops sloped to reduce dust accumulation? |
How Do I Plan a Layout for My Specific Room?
You don't need to be an architect to create a useful plan. A simple, dimensioned sketch is a powerful tool for discussing your needs with a supplier.
In a small room, a perfect linear flow might be difficult. You may need a U-shaped layout. The principle remains the same: arrange the flow so the dirty and clean processes do not cross paths. A knowledgeable supplier can help you find the "next best" layout for a tight space and suggest operational rules to maintain separation.
When making your sketch, be sure to include:
- Room Dimensions: The total length and width of the space.
- Obstructions: The location and size of doors (including which way they swing), windows, and support columns.
- Utility Locations: Mark where existing plumbing drains, water supplies, and electrical outlets are located. This is a key detail for placing sinks and equipment.
- Equipment Footprints: Note the dimensions of major equipment you already have or plan to buy, like your autoclave and ultrasonic cleaner.
- Clearances: Remember to leave adequate space (e.g., 3-4 feet) for staff to move comfortably and to fully open equipment and cabinet doors.
What Should I Confirm Before Ordering Sterilization Furniture?
Before you send an inquiry like "quote for sterilization furniture," take a moment to prepare the details a supplier needs to give you a complete and comparable proposal. A good supplier should ask you questions about your workflow and room, not just send a price list.
The goal is to receive a quotation that is broken down by functional station (e.g., "Cleaning Station Unit"), not just generic item names. This allows you to confirm that every feature you need-from a marine edge on the receiving counter to sloped tops on the storage cabinets-is included.
Before you request a quotation for your sterilization area furniture, preparing a few key details will help you get a much more accurate and useful proposal. Please prepare:
1. A simple sketch of the room with clear length and width dimensions. 2. The locations of: the door(s), any windows, and existing plumbing and electrical outlets. 3. A list of your key equipment (e.g., autoclave, ultrasonic cleaner) with their approximate dimensions.
Sending this information with your inquiry allows a supplier to help you create a layout plan that is functional, helps support your compliance goals, and is tailored to your specific space.
Written by
CareFurnex Team
CareFurnex Team shares practical knowledge about hospital beds, patient room furniture, medical trolleys, clinic furniture, and healthcare facility procurement for international B2B buyers.
Related Products
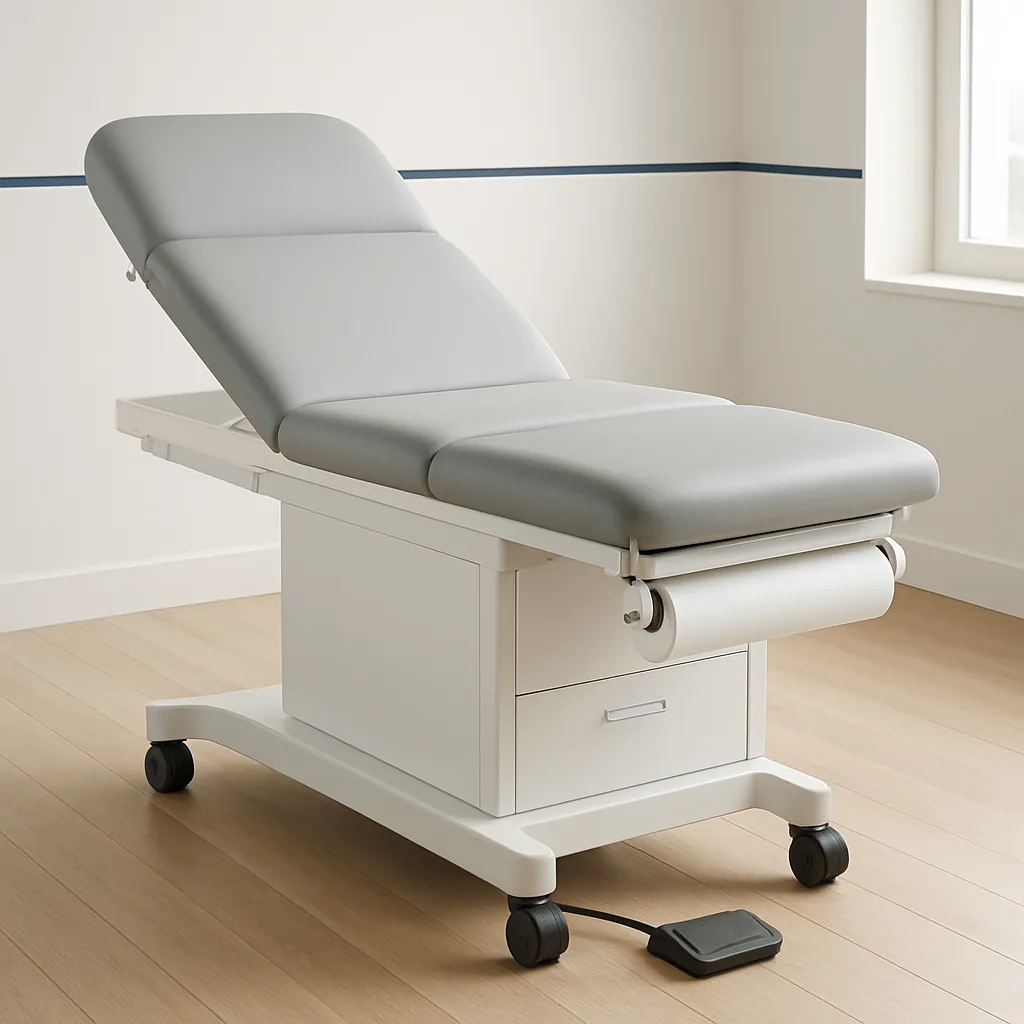
Examination Tables
Medical exam tables for clinics, hospitals, treatment rooms, and healthcare facilities.
View product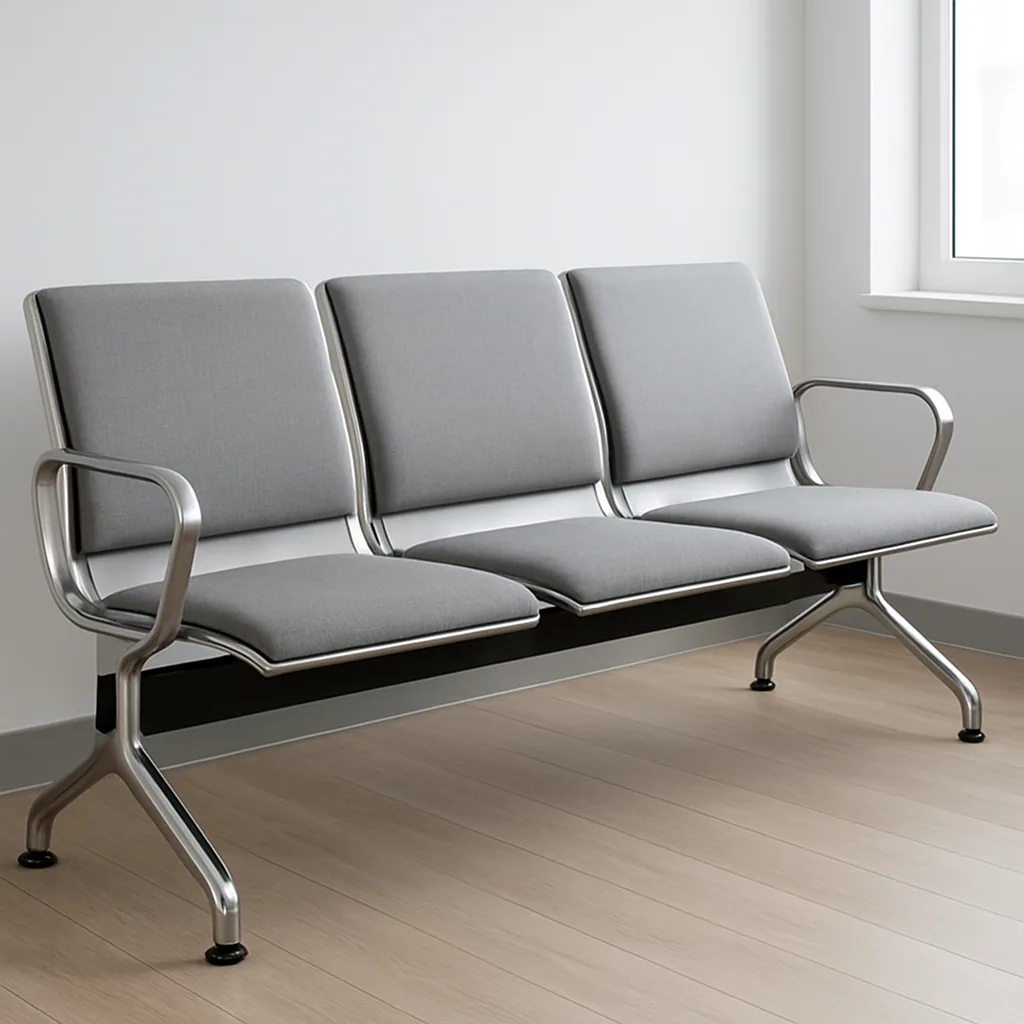
Waiting Chairs
Clinic waiting chairs and bench seating for public reception and patient waiting areas.
View product
Hospital Beds
General-purpose patient beds for inpatient wards and standard hospital rooms.
View product